There are 2 ways to install Python.
1. Install Python directly.
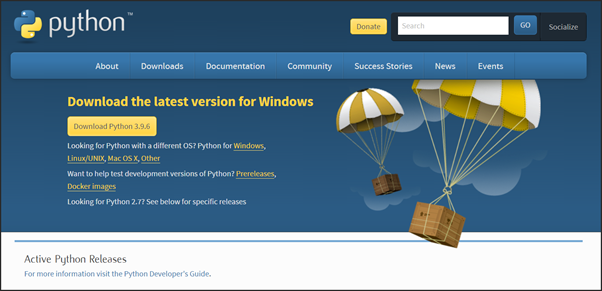
To install python, go to the below link:
https://www.python.org/downloads/
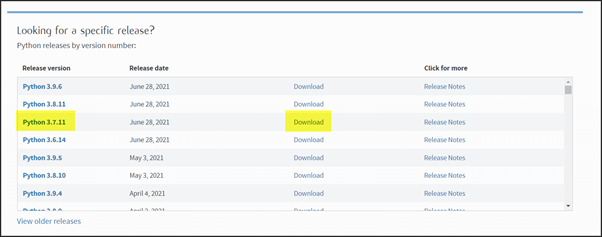
If you want a specific release, you have to scroll down a little bit to the section “Looking for a specific release?”
2. Easy way – Install Anaconda tool kit:
Anaconda is a data science tool kit which comes with Python and an excellent popular interactive IDE Jupyter Notebook. With that we can install python packages using conda-install command.
Jupyter notebook is a visual command line window.
It is excellent for research purposes.
For the step-by-step guide please refer the official documentation:
=> windows: https://docs.anaconda.com/anaconda/install/windows/
=> macOS: https://docs.anaconda.com/anaconda/install/mac-os/
=> Linux: https://docs.anaconda.com/anaconda/install/linux/
IDE Installation:
You can use any Python IDE.
By default, Anaconda give Spyder (MIT License).
In this course, I am using PyCharm as it is very comfortable for me.
Direct Download location: https://www.jetbrains.com/pycharm/download/#section=windows
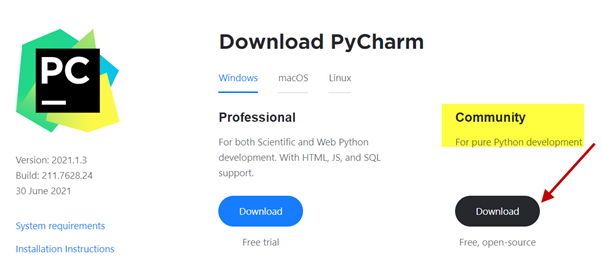
Community edition is free and it is enough for our learning as of now.
While working on a project, we can set the python interpreter location as what we installed in previous step.
If anaconda is installed, you can use the Python Interpreter location from Anaconda installation directory.
Steps to install PyCharm from their official site: https://www.jetbrains.com/help/pycharm/installation-guide.html#standalone
This page gives the steps to use standalone installation. You can install manually without installing tool box app which is used to install and manage JetBrains products. As we only need PyCharm, we can go for standalone installation.
Command Window?
As we already know, python is an interactive language also. We get the result of a line of code immediately. We can use Command Window or power shell for research purposes.
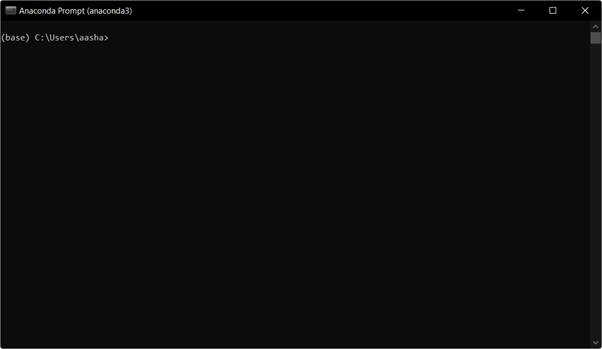
As we installed Anaconda, we can use its “Anaconda Prompt”.
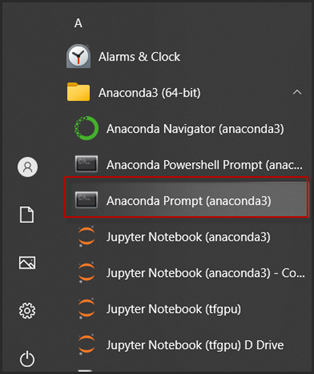
Go to start menu and find your “Anaconda Prompt” which is a command window.
Here you do not need to bother about navigating to Python Installation Folder.
Anaconda Prompt takes care of it implicitly.
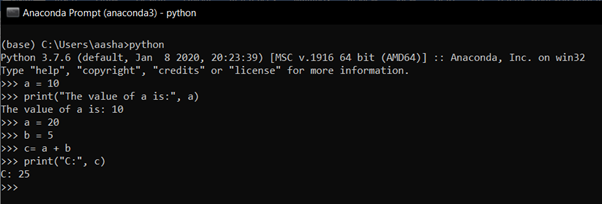
Now type python and enter:
Your current installed Python version information will be displayed.

Now we can start programming in this Anaconda prompt.
As we already know that Python is an interactable language, we can do programming in Anaconda prompt itself.
This will be very useful when we experiment with Python.
As we are in a learning phase as of now, we can use this command prompt too.
Once we type Python you can see that three greater than symbols in your window that means you are inside the Python environment.
Here we can initialize our variables or write expressions etc.
Let’s try one addition program here.
There is another way to use interactive programming in Python which is very convenient for practicing and experimenting with Python.
That is nothing but Jupyter notebook.
Jupyter Notebook:
What Is a Jupyter Notebook?
Jupyter Notebook is a client-based interactive web application that allows users to create and share codes, equations, visualisations, as well as text.
How to open it?
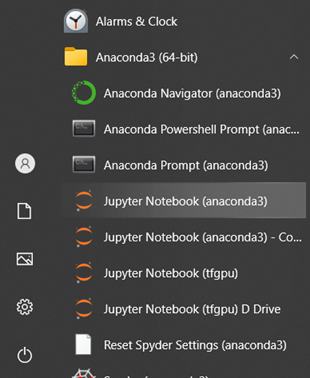
Jupyter notebook comes along with Anaconda installation itself.
In start menu-> anaconda folder-> Jupyter notebook.
This option will open a command prompt and also a page in browser.
By default, it opens the anaconda installation directory.
If you want to customize this, open an anaconda prompt, navigate to the drive/directory where you save all your Python works. Type “jupyter notebook”. You will get the jupyter notebook main page in your desired location.
You can also find the user documentation for Jupyter Notebook here: https://jupyter-notebook.readthedocs.io/en/stable/
Check it, Try it! Enjopy!
Happy Programming.